Data products
A data product is an internal structure that contains a dataset file(s) and the metadata related to it. It is a crucial part in the intent definition. It is possible to create new data products or delete already existent ones.
Two main types of data are supported in the generation of data products:
- Tabular data: Tabular data is data that is organized in a table format, consisting of rows and columns, where rows represent individual records or observations, columns represent attributes, variables, or fields. Thus, each cell contains a single value describing a specific attribute of a record.
- Tensor data: Tensor data is data that is organized as a multi-dimensional array, extending beyond rows and columns to represent data across two or more dimensions (axes).
After the dataset is imported, Intent2Workflows extracts information from the dataset (metadata, general metrics, column metrics, etc.). This extracted information can be retrieved.

Create data product with tabular data
This is the standard way of generating new data products, by importing tabular data files. To do so, the user must provide one or multiple dataset files(File import) or a folder(Folder import) locally. Another option is to directly provide the data from DDM
The supported file formats are CSV(.csv), Parquet(.parquet) and Laspy(.las). Data files in the mentioned formats can also be provided compressed in a ZIP(.zip) file.
File import
- 1Select Data Products in the left slide bar.
- 2Click .
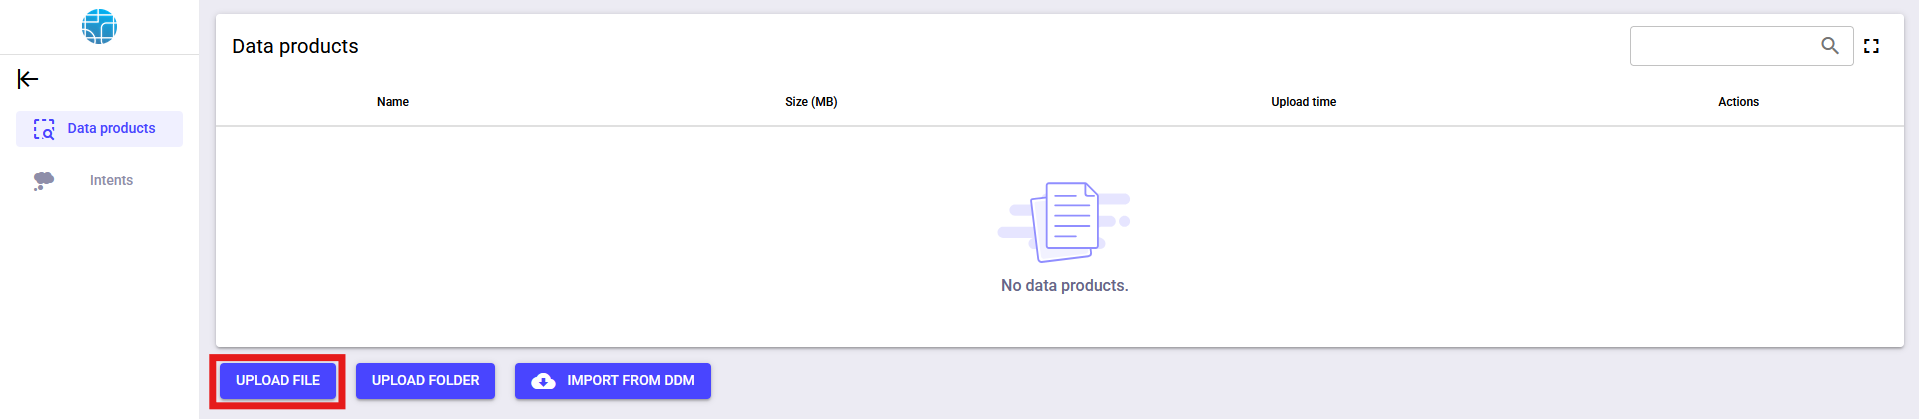
- 3Select the desired files.NoteWhen importing multiple files using file import, I2WG will consider the data product as the union of all data files encoded in a supported format.WarningMake sure all the imported files have the correct file extension. Otherwise, I2WG will ignore them.
- 4If all goes well, a new data product should be created.
 WarningData product will not be created if one already exists with the same name.
Folder import
- 1Select Data Products in the left slide bar.
- 2Click .
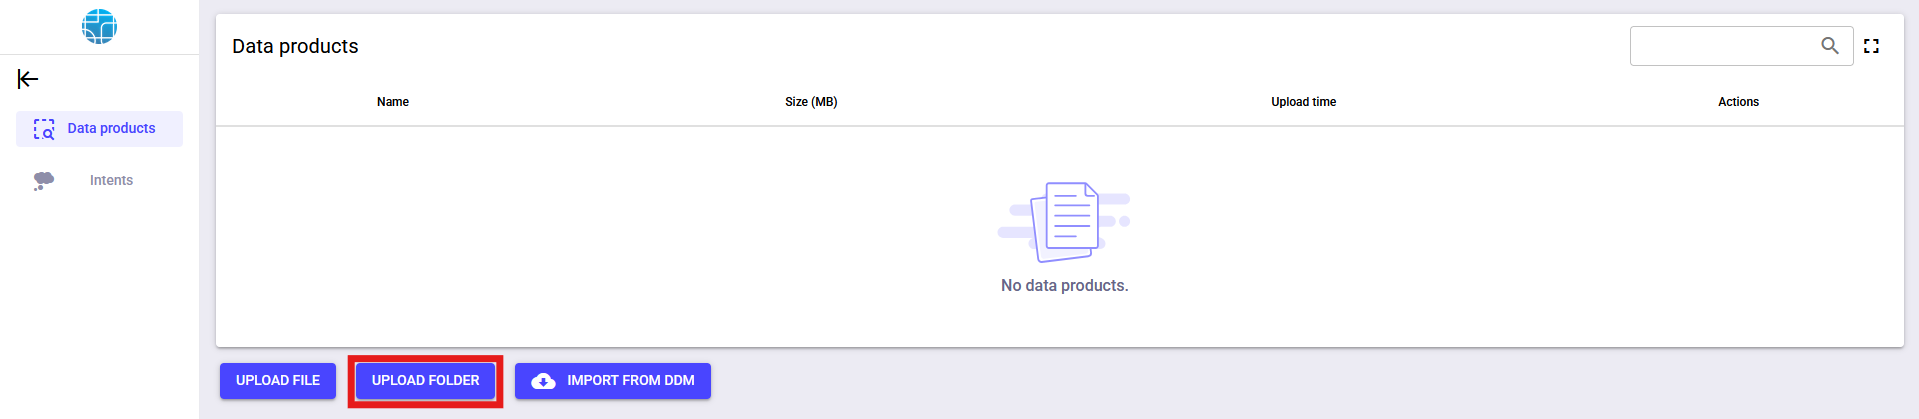
- 3Select the desired filesNoteI2WG will consider the data product as the union of all data files encoded in a supported format present in the uploaded folder.WarningMake sure all the imported files have the correct file extension. Otherwise, I2WG will ignore them.
- 4If all goes well, a new data product should be created.
 WarningData product will not be created if one already exists with the same name.
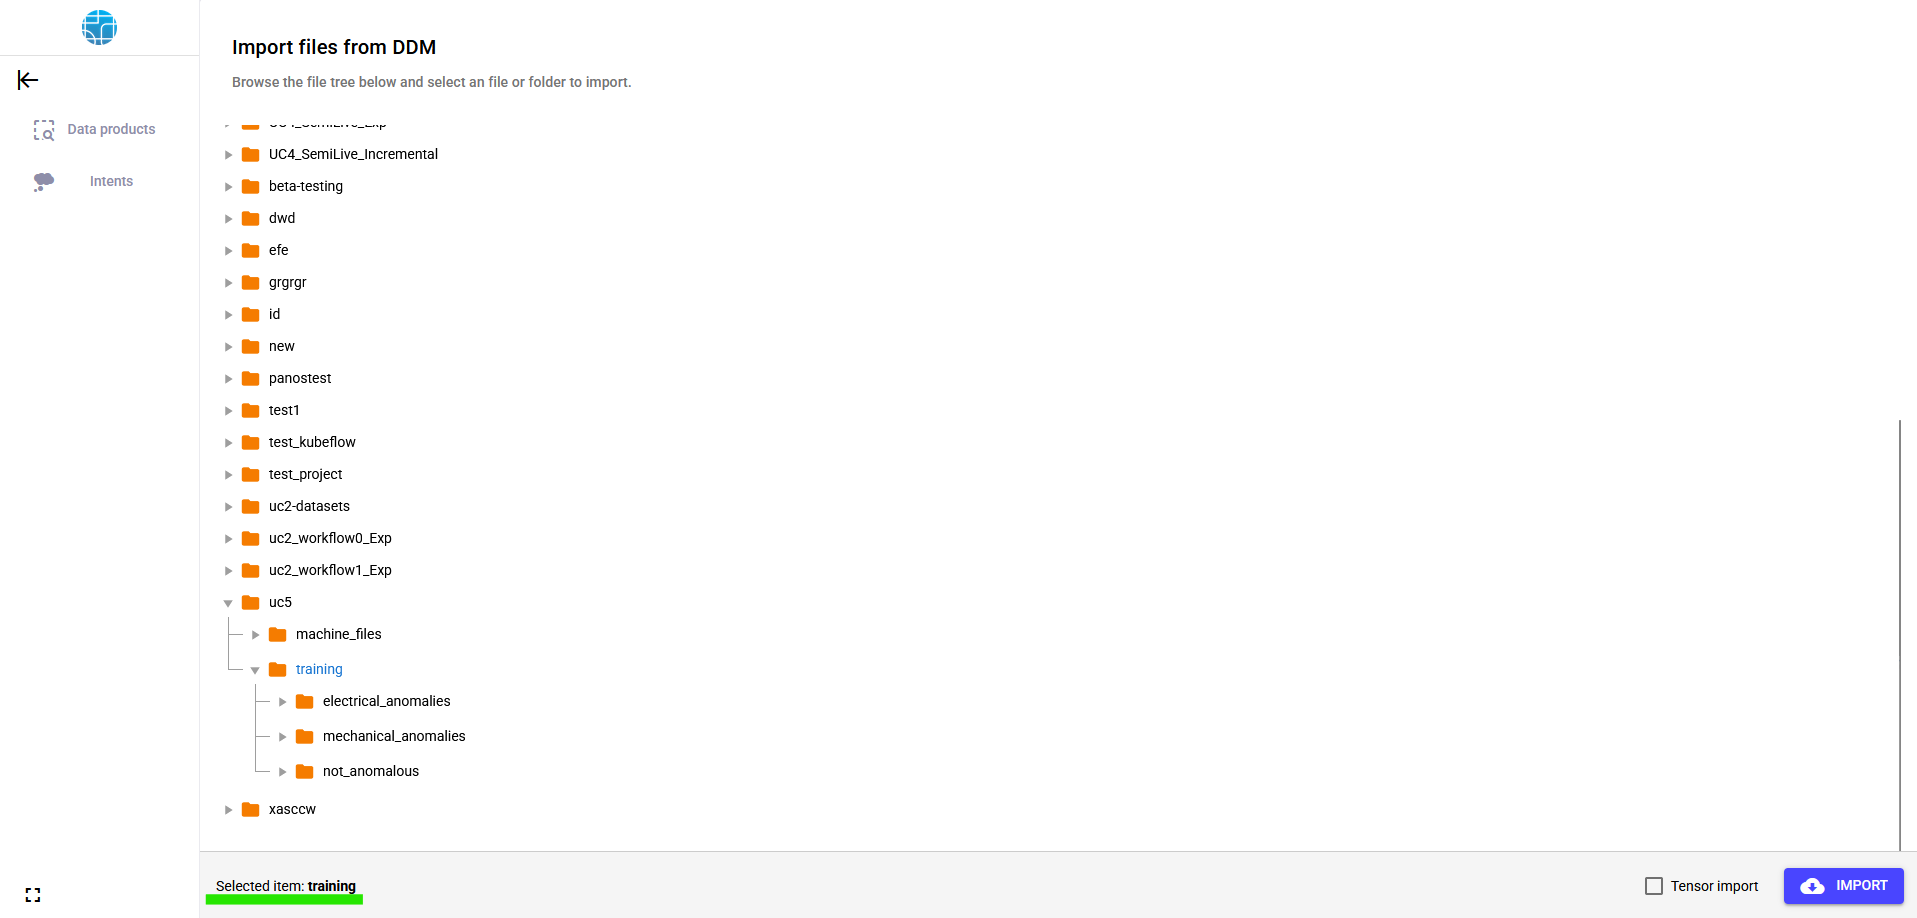
DDM import
- 1Select Data Products in the left slide bar.
- 2Click .

- 3Select either a file or a folder.
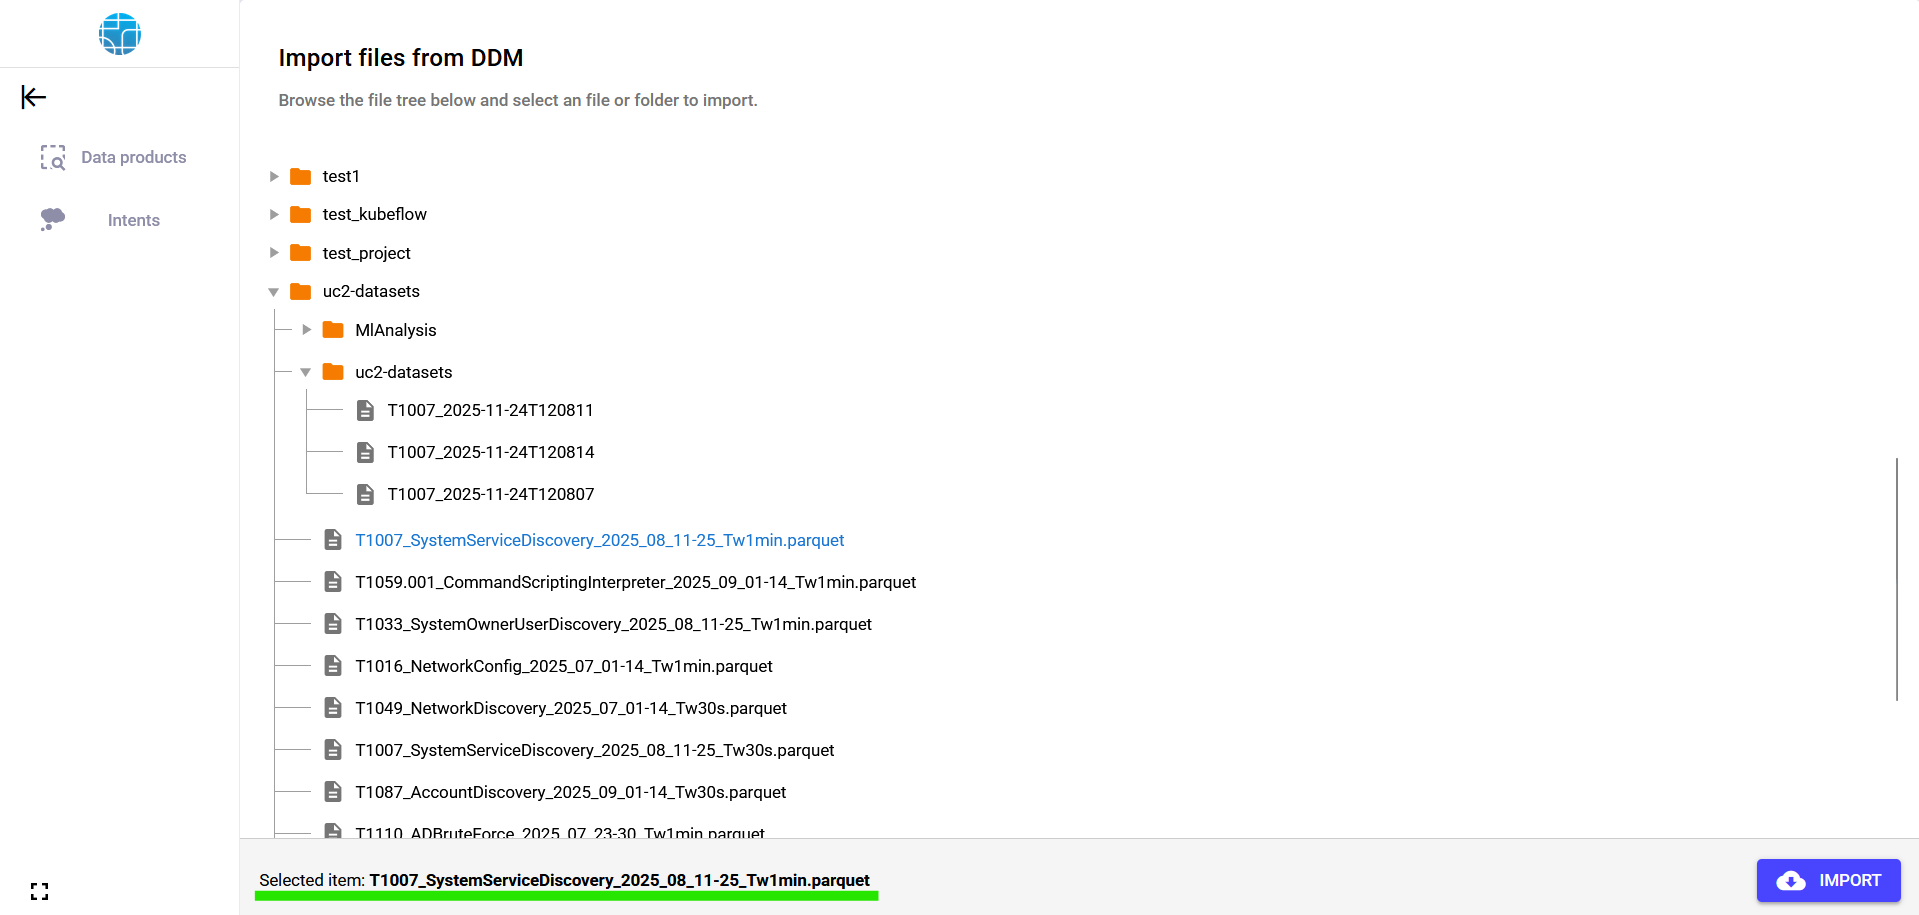 TipOn the bottom left, the current selected item is shown.WarningMake sure all the imported files have the correct file extension.
 - 4Click .
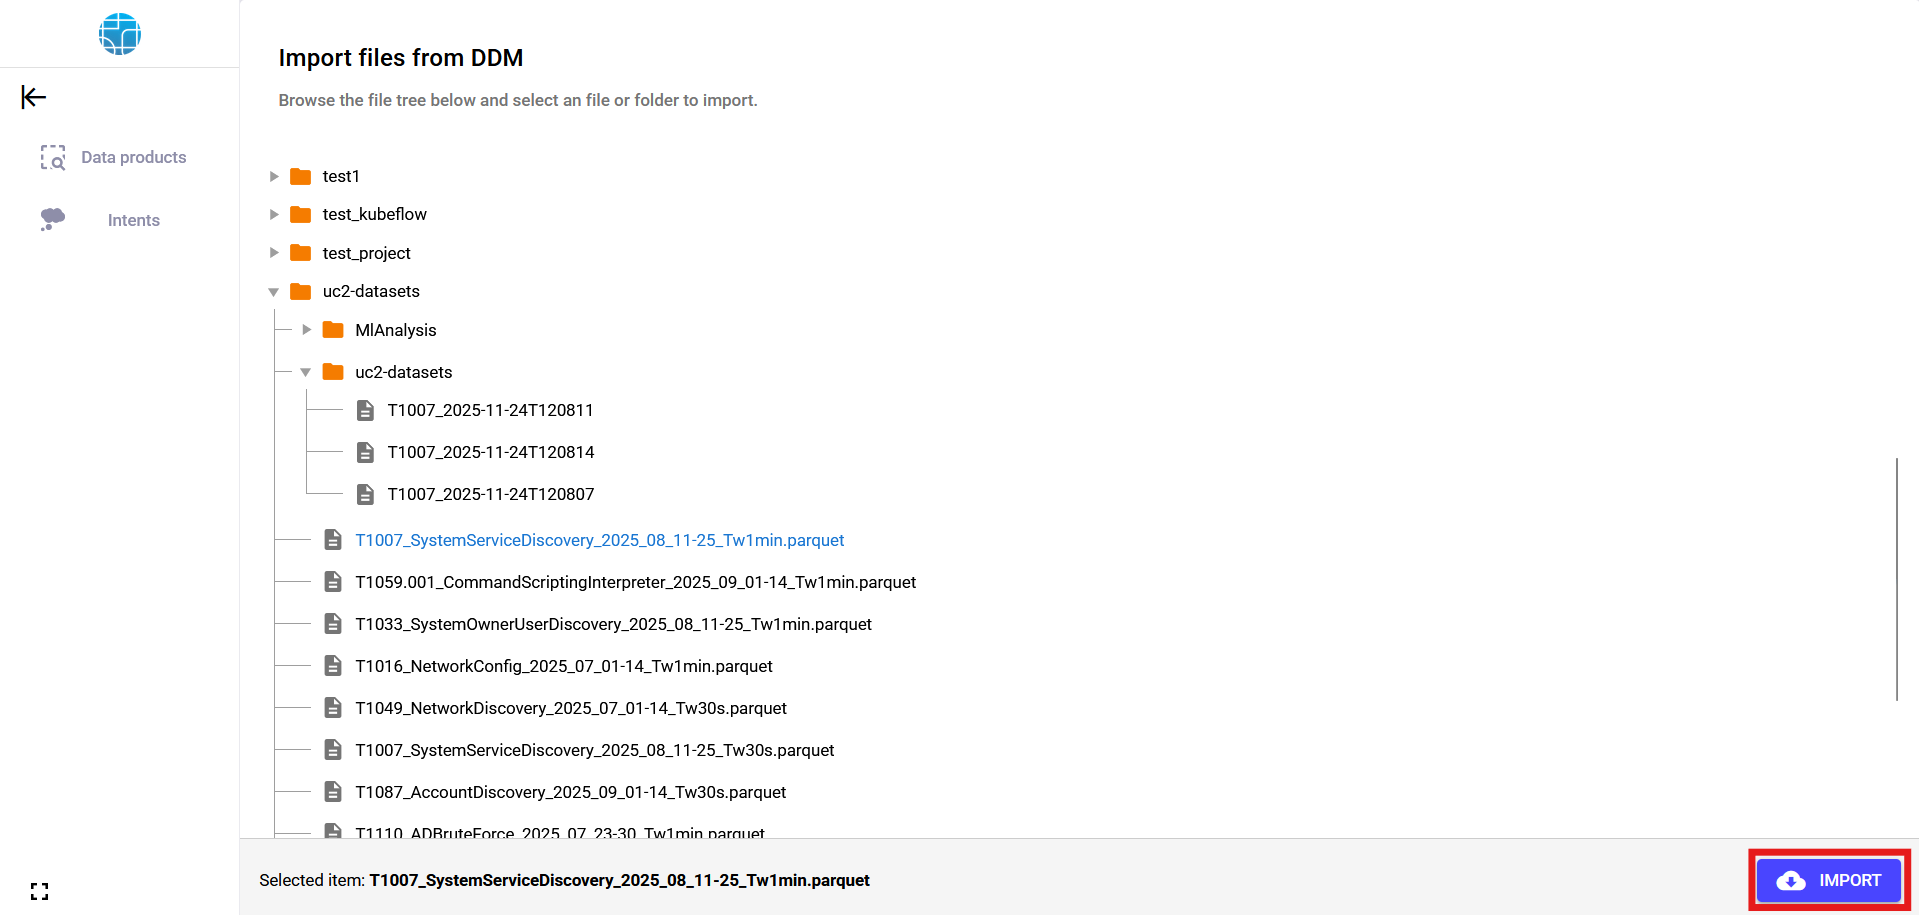
- 5If all goes well, a new data product should be created.
 WarningData product will not be created if one already exists with the same name.
Create data product with tensor data
Intent2Workflows offers a limited support for tensor data products. To import non-tabular data, the user must provide a NumPyZip file (File import). Alternatively, it is possible to directly provide the data from DDM.
Local import
- 1Select Data Products in the left slide bar.
- 2Click .
- 3Select a NumpyZip file.WarningONLY NumPyZip files are supported.
- 4If all goes well, a new data product should be created.
 WarningData product will not be created if one already exists with the same name.
DDM import
- 1Select Data Products in the left slide bar.
- 2Click .
- 3Select a folder.
 TipOn the bottom left, the current selected item is shown.
 - 4Check Tensor import.
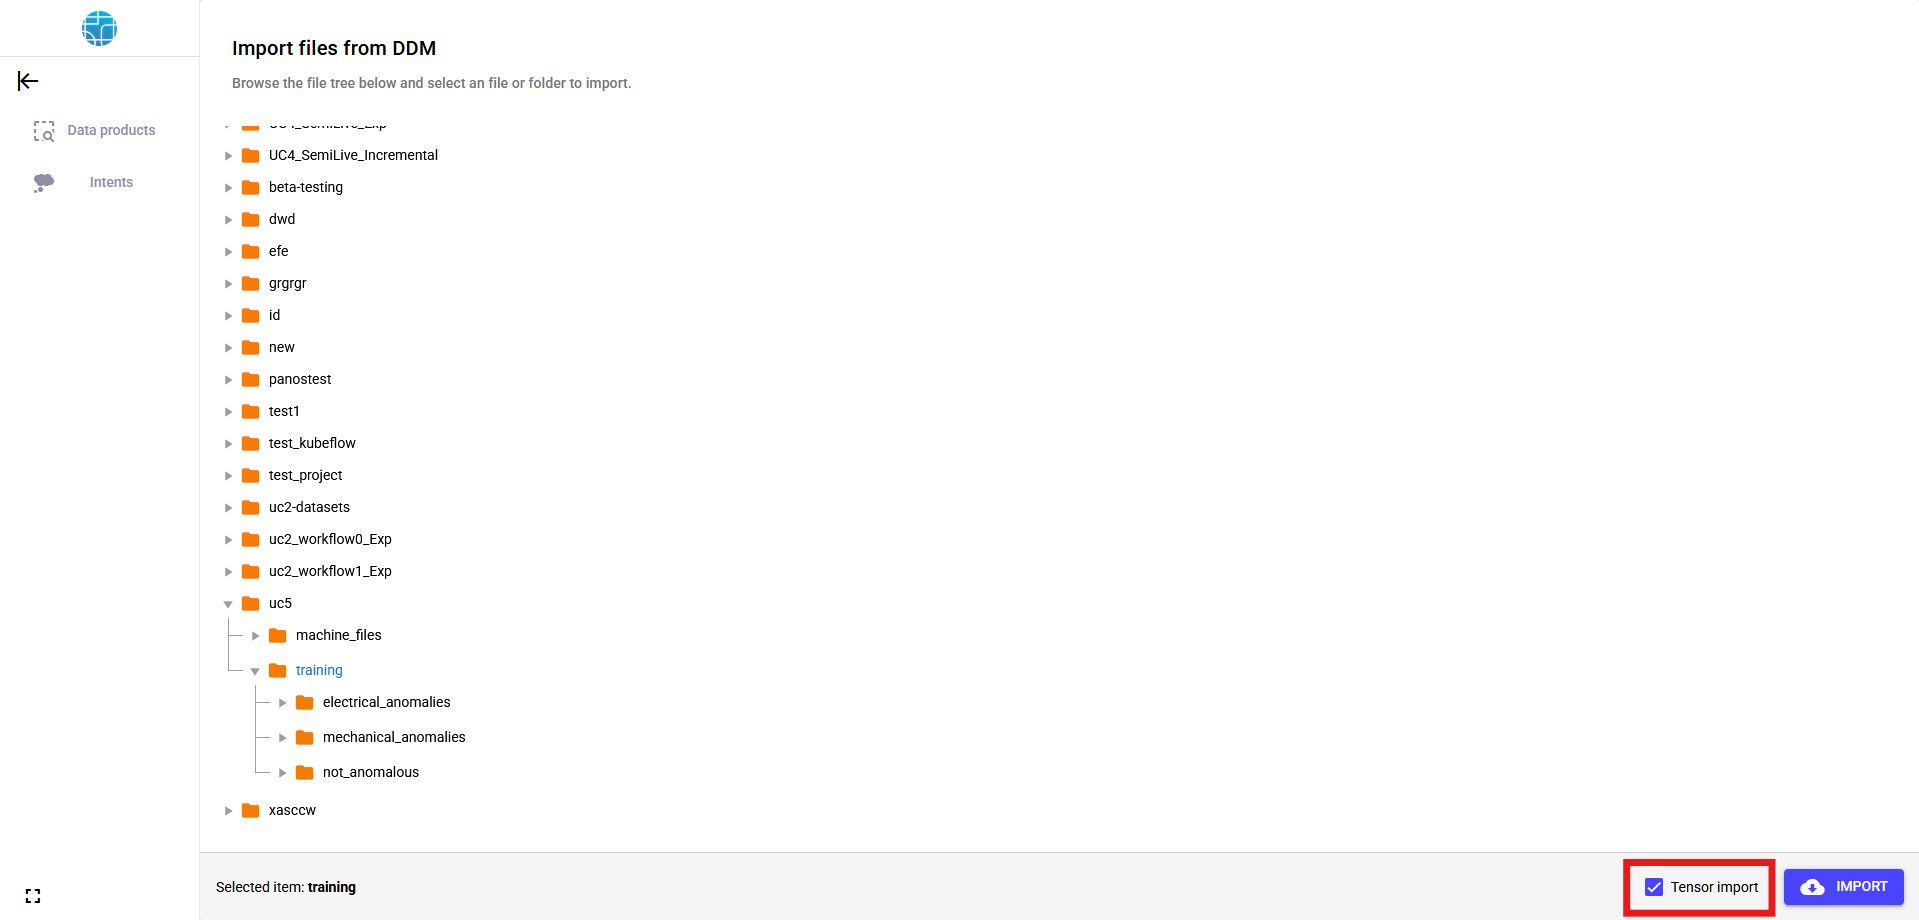 tipTensor import is expecting a folder with subfolders inside, where each subfolder contains tabular files. Hence, the subfolder structure is considered the 3rd dimension.
 - 5Click .
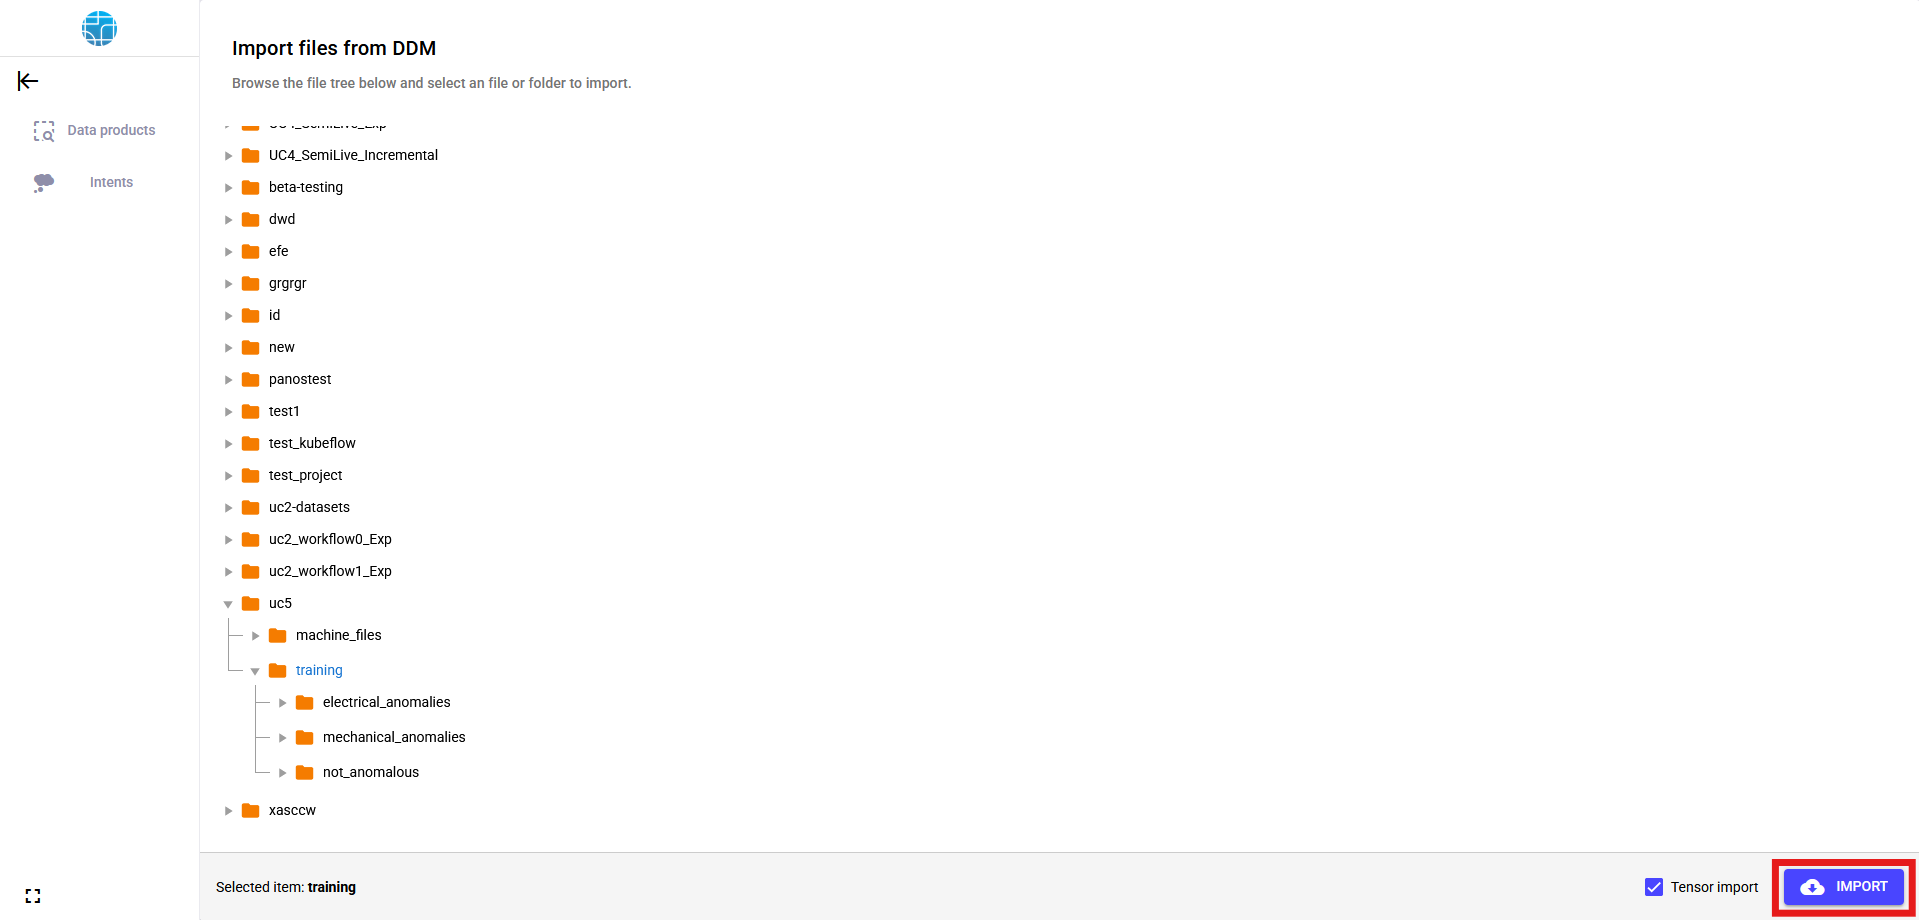
- 6If all goes well, a new data product should be created.
 WarningData product will not be created if one already exists with the same name.
Delete data product
- 1Select Data Products in the left slide bar.
- 2Choose one of the existent data products.
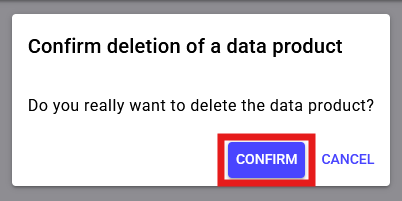
- 3Click delete on the chosen data product.

- 4Confirm the action in the confirmation popup.
- 5Now, the data product has been deleted and no longer will be present in the data product list.
Retrieve Dataset annotations
- 1Select Data Products in the left slide bar.
- 2Choose one of the existent data products.
- 3Click on the chosen data product.

- 4Open or save the annotations file generated.